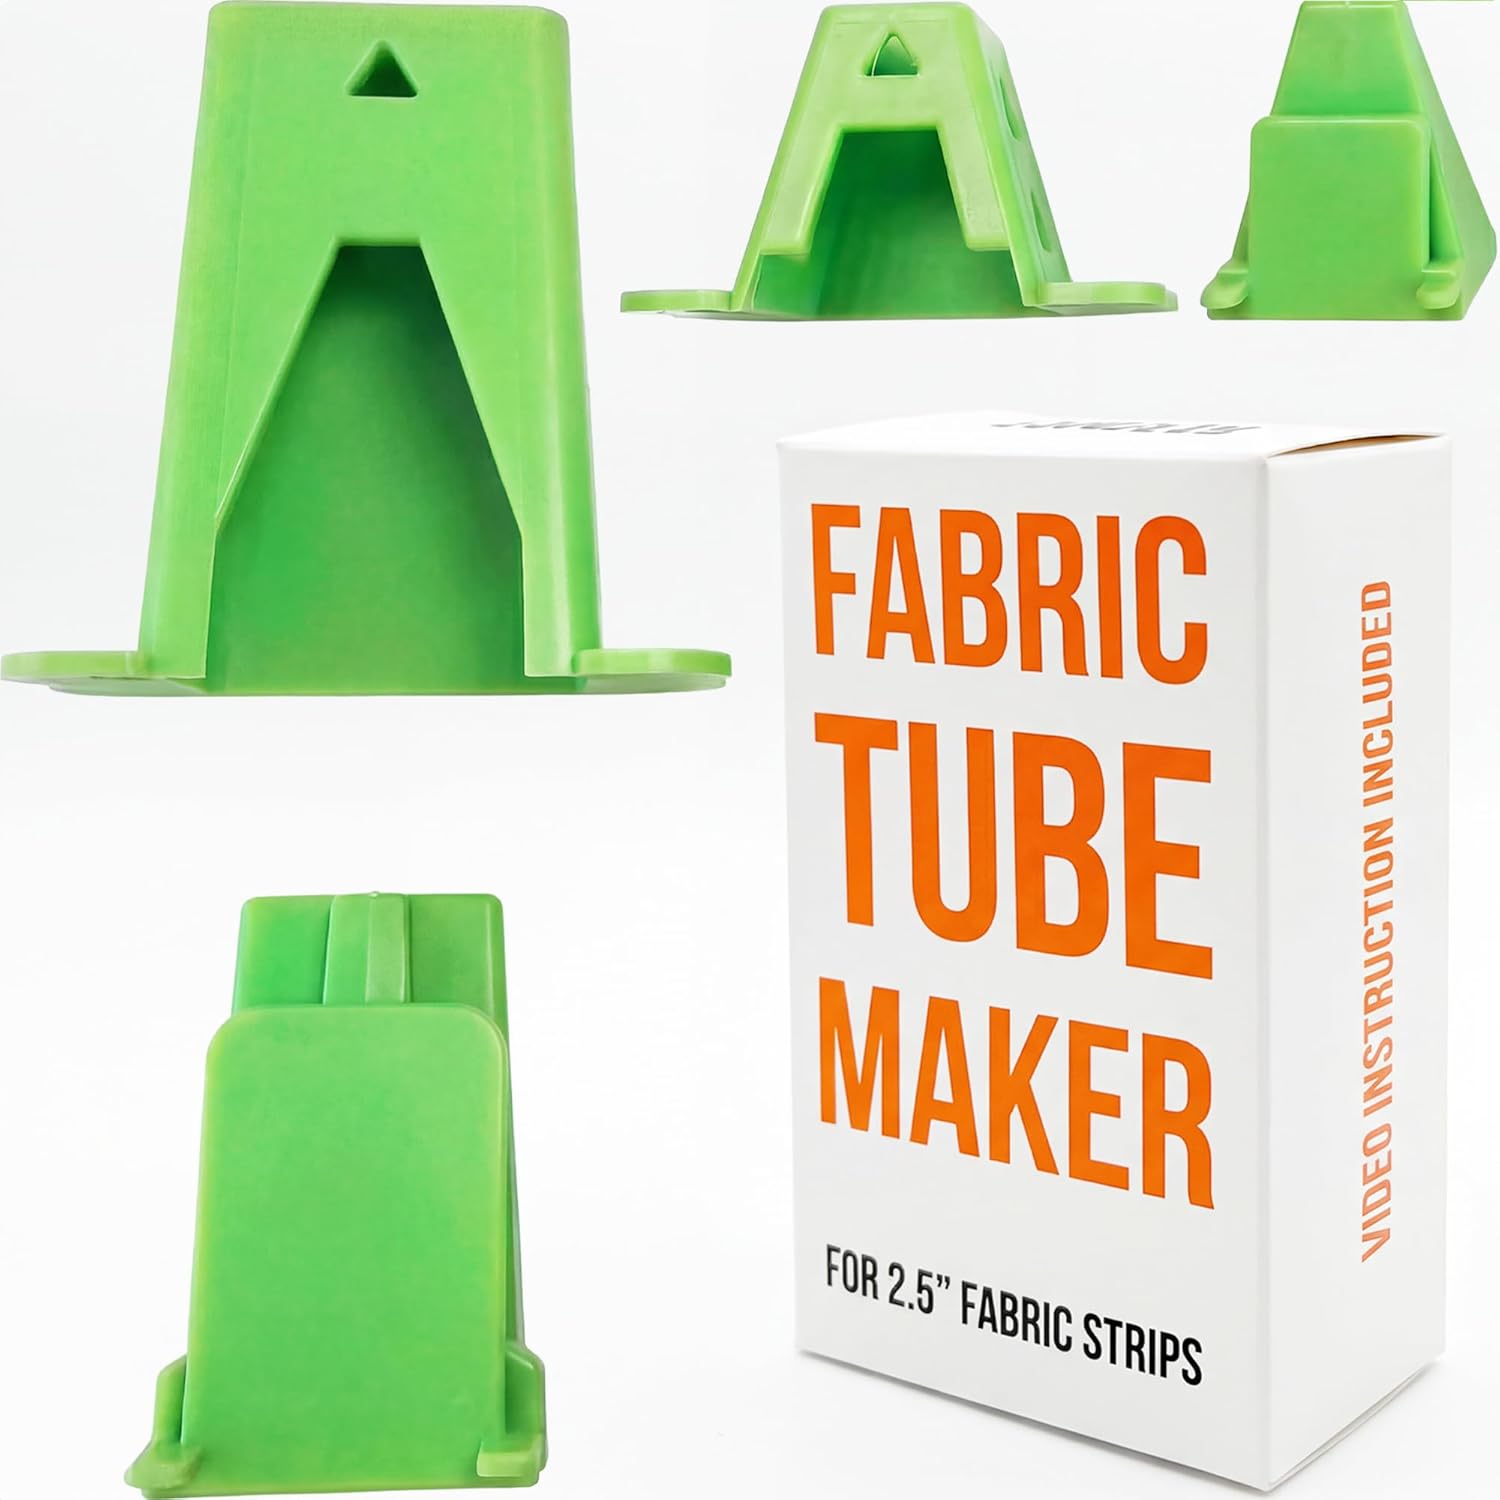
Fabric Tube Maker
Premium bias tape maker tool for jelly roll rugs, sewing and quilting DIY projects. Transforms fabric strips into uniform tubes effortlessly.
— How to Use
— Our Step-by-Step Guide — How to Make a Round Jelly Roll Rug
We made this rug ourselves for the first time — so you can too, and you’ll probably do it even better.
Before you sew a single stitch, lay out all 42 strips and decide the order they'll appear in your rug. Mix prints and solids, alternate light and dark, or group your favorites together — there's no wrong way to do it. The first strip you sew becomes the center of your rug; the last one becomes the outer edge.
Sew your strips end-to-end using a 45° diagonal seam for a smooth, professional-looking join. Place the first strip horizontally, printed side up, then place the second strip on top vertically, printed side down, forming an "L". Sew a diagonal line from corner to corner where the strips overlap, and keep adding strips the same way without cutting the thread. Once all 42 strips are joined, trim the seam allowances to 1/4″ and press all seams open.
Turn your joined strips into a clean, finished tube using the fabric tube maker. Feed the fabric strip through the tool with the batting strip centered on the wrong side of the fabric — it folds both edges of the fabric over the batting, enclosing it inside. Sew a straight stitch down the center of the tube to lock everything in place.
Time to start shaping your rug. Curl the end of your tube into a tight spiral (2–3 rotations), hold it flat under the presser foot, and set your machine to a zigzag stitch — width 5.0–5.5 mm, length 1.0–1.5 mm. Zigzag so the needle catches both the current coil and the one next to it, turning the spiral slowly as you feed the tube in from the right side. Tip: turn the handwheel by hand for the first few stitches — it's easier to control.
The last step — finishing and securing the outer edge of your rug. When you reach the end of your tube, taper the last 3–4 inches by trimming the batting thinner so it narrows gradually, then fold the raw fabric end under to hide it. Zigzag stitch the tapered end flat against the previous coil and backstitch to secure. And that's it — your jelly roll rug is complete!
— Video Ideas & Guides From Other Creators
— Key Features
- Makes jelly roll rugs in half the time — no pins, no ironing, no clips required
- Snaps firm, releases easily — injection-molded ABS plastic, tested 100+ cycles
- Ready-to-give quilter gift — arrives in a clean retail gift box
- Beginner-friendly — illustrated fold-out card + QR code video tutorial included
- Protects your hands — guides fabric through the tool, reduces finger fatigue
- Works with standard 2.5-inch jelly roll strips
- Also works as bias tape maker, binding strip folder, bag handles and tote straps
- Ideal for evenings and weekend quilting sessions at home
— Works With
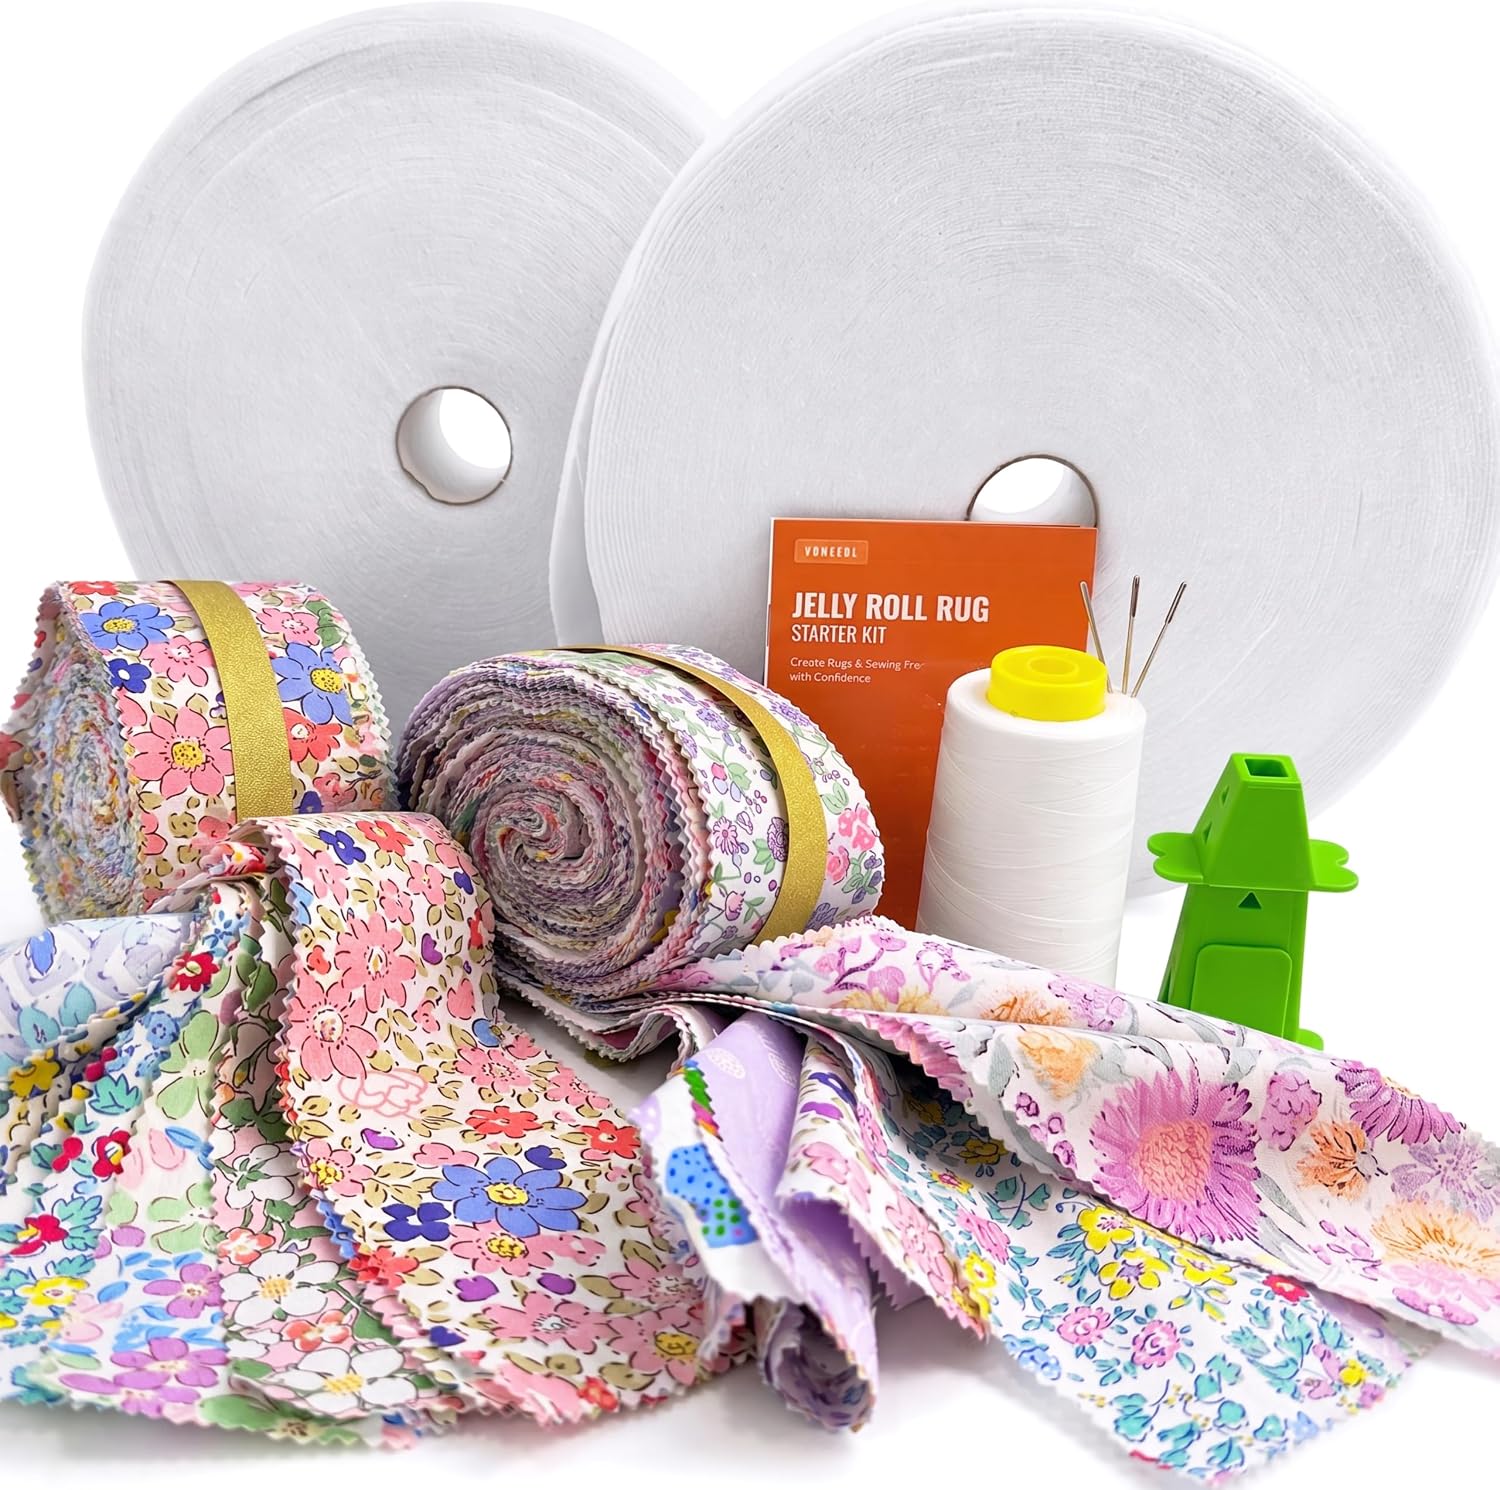
Fabric strips, batting strips, tube maker, needles & thread — everything in one box.
Shop on Amazon